
The Day I Finally Learned to Sharpen My Knives (And Why I Waited So Long)
I have this memory that still makes me cringe.
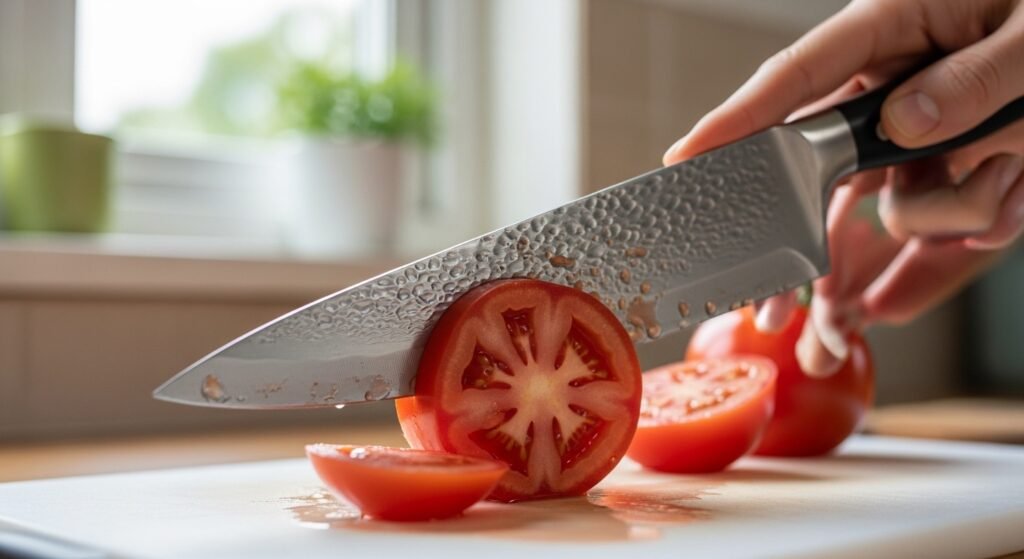
I was cooking dinner for friends, trying to slice tomatoes for a salad. My knife—my “good” chef’s knife that cost real money—just would not cut. It pressed down, slipped, and smashed the tomato instead of slicing it. I kept going, getting frustrated, pressing harder.
Then it happened.
The knife slipped completely, slid right off that tomato, and came damn close to taking a chunk out of my finger. Not a bad cut, but close enough to scare me. Close enough to make me realize I’d been cooking with dangerous equipment for way too long.
A sharp knife is safe. A dull knife? That’s what hurts people.
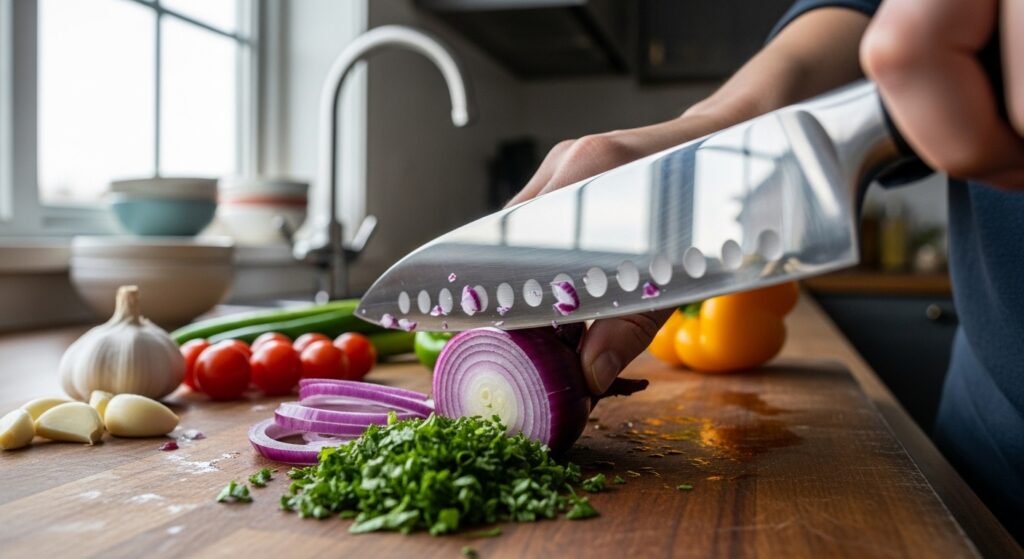
So I finally learned how to sharpen my knives properly. Took some practice. Made some mistakes. But now? That same chef’s knife glides through tomatoes like they’re butter. Chopping onions actually feels satisfying. Cooking is fun again instead of frustrating.
Let me save you some trial and error.
First, How Do You Know It’s Time?
You don’t need to sharpen every week. But you’ll know when it’s needed.
The tomato test
Try slicing a ripe tomato with your knife. If it cuts cleanly with minimal pressure, you’re probably fine. If the knife squishes the tomato before breaking the skin, or if it slides around instead of biting in, you need to sharpen.
The paper test
Hold a piece of paper. Try to slice it with your knife. A sharp knife will cut through cleanly. A dull one will tear or struggle.
The visual check
Hold the knife under good light and look at the edge. If you see shiny spots or reflections, those are dull spots. A sharp edge shouldn’t reflect much light—it’s too fine.
Your Sharpening Options (And What I’ve Learned About Each)
There are a few ways to sharpen knives. I’ve tried them all.
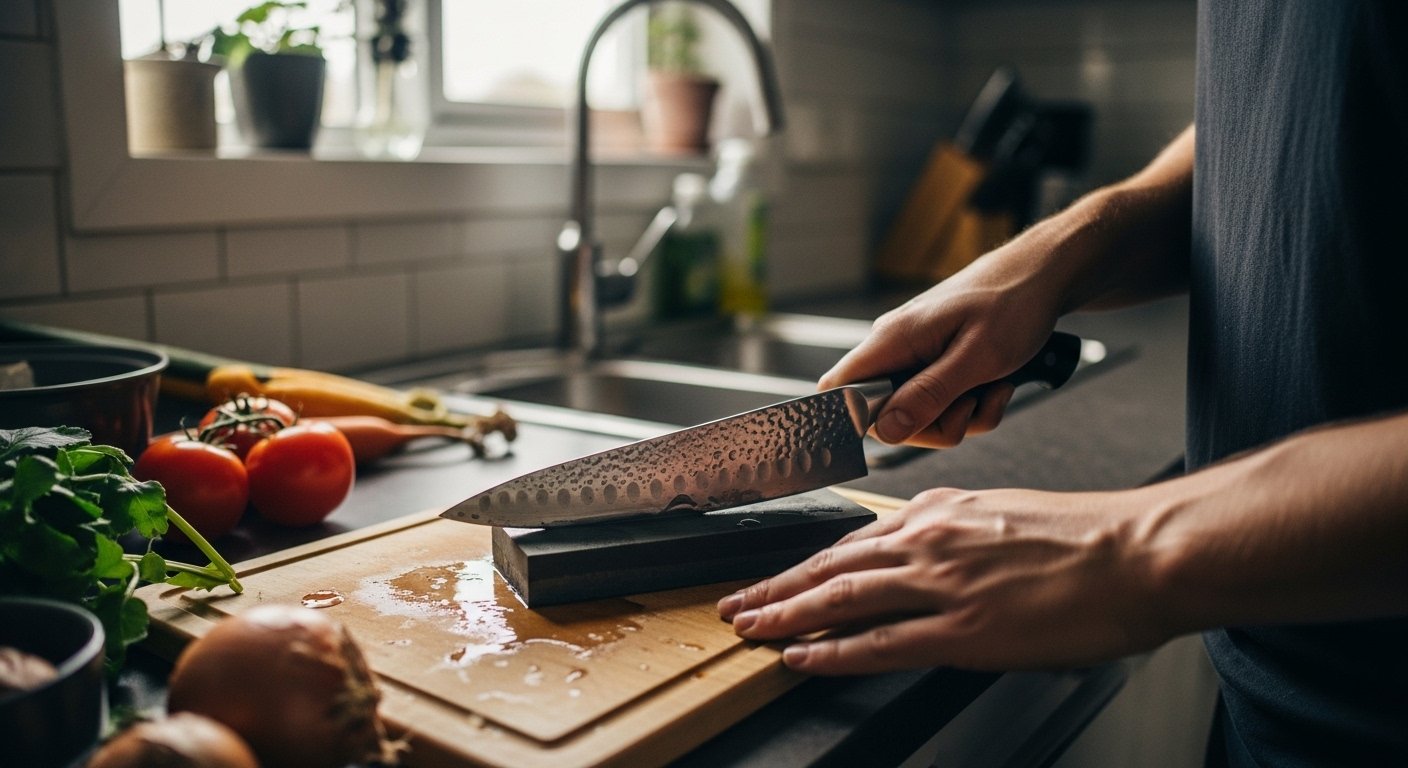
Whetstones (the pro choice)
This is what the fancy chefs use. A whetstone is a block of stone that you wet with water (confusing name, right? “Whet” means sharpen, not wet, but you do wet it, so… anyway).
It takes practice. Your first few attempts might not be perfect. Mine weren’t.
But once you get it? Nothing sharper. You control the angle completely. You remove exactly as much metal as needed. Your knives will be razor sharp.
Downside: learning curve. I messed up a cheap knife learning, which is exactly what you should do. Practice on something you don’t care about.
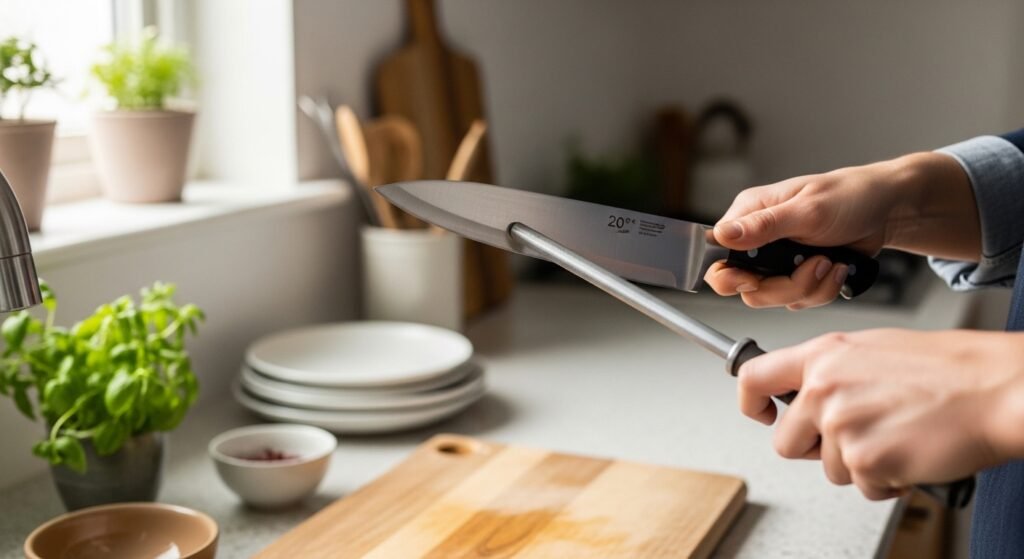
Honing rods (not sharpening, but important)
Here’s something that confused me for years.
That long steel rod you see chefs using? It’s not for sharpening. It’s for honing.
Sharpening removes metal to create a new edge. Honing just straightens the existing edge, which naturally gets bent out of shape during use.
Think of it like this: your knife edge is like a tiny saw blade. Using it bends those teeth slightly. Honing straightens them back.
Do this often—like every few times you cook. It keeps your knife feeling sharp way longer.
Manual sharpeners (easy button)
Those little devices with slots you pull the knife through? They work. Not as well as a whetstone, but way easier.
I keep one in my drawer for quick touch-ups when I don’t want to break out the stone. Pull through a few times, done.
Downside: they remove more metal than necessary sometimes. Use them sparingly if you want your knives to last decades.
Electric sharpeners (fast and consistent)
Plug it in, run your knife through, done. Super fast. Super consistent.
But aggressive. Takes off metal quickly. Great for cheap knives or if you sharpen rarely. Not ideal for expensive Japanese knives or heirloom pieces.
I use mine for beater knives I don’t care as much about.
How I Learned to Use a Whetstone
If you want to go this route, here’s the simple version.
Soak the stone
Put it in water for 10-15 minutes. It’ll bubble as air escapes. When it stops, it’s ready.
Find your angle
Most kitchen knives want a 15-20 degree angle. That’s about the width of a coin tilted up. If you’re not sure, err on the side of shallower.
Start grinding
Place the knife on the stone, edge facing away from you. Press down gently and slide the knife across the stone—from heel to tip—as if you’re trying to shave off a thin layer.
Do this 5-10 times on one side, then flip and do the other side.
Then repeat with a finer grit if your stone has one.
Check your work
Look at the edge. Feel for a burr—a tiny ridge of metal on the opposite side from your strokes. That’s how you know you’ve sharpened enough.
Then move to the finer side to polish.
It sounds complicated, but after a few tries it becomes muscle memory. I’m no expert and I get blades sharp enough to shave with now.
Safety Stuff (Because Fingers Are Nice to Keep)
Sharpen away from your body
Always. Every stroke should move the knife away from you, not toward you.
Stable surface matters
Put your stone on a damp towel so it doesn’t slide around. A moving stone is a disaster waiting to happen.
Clean after sharpening
Those tiny metal shavings? They’ll end up in your food if you don’t wash the knife thoroughly after sharpening. Soap and water, dry immediately.
Keeping Them Sharp
Sharpening is work. Maintenance is easy.
Hand wash only
Dishwashers destroy knives. The heat, the banging around, the harsh detergents—all bad. Hand wash, dry immediately, put away.
Store them right
Tossing knives in a drawer where they clank against other metal? That dulls them fast.
Knife block. Magnetic strip. Sheaths. Something that keeps edges from banging into things.
Hone regularly
That steel rod? Use it. Every few cooking sessions. Five strokes per side, done. Your knives will stay sharp way longer.
What Changed for Me
Before I learned this stuff, cooking was often frustrating.
Onions took forever. Herbs got bruised instead of chopped. Meat was a struggle. I thought I just wasn’t good with knives.
Turns out the knives were the problem.
Now I spend maybe 10 minutes every few weeks maintaining them. That’s it. And every time I cook, I’m using tools that actually work.
That tomato incident that almost cost me a finger? Never happened again. Sharp knives bite into food. Dull knives slip and bite into you.
Worth learning just for that.
One More Thing
You don’t need to become a sharpening master overnight.
Start simple. Maybe just a manual pull-through sharpener to get comfortable. Add a honing rod to maintain between sharpenings. If you get curious about whetstones, buy a cheap knife to practice on.
The goal isn’t perfection. It’s just having knives that work when you need them.
And honestly? There’s something satisfying about taking a dull, useless knife and bringing it back to life. Feels like magic, but it’s just patience and a little practice.
What about you?
Ever had a knife slip and scare you? Found a sharpening method you love?
Drop a comment and tell me about it. I read them all and I’m always looking for better techniques.
And if this was helpful, pass it to someone who’s been complaining about their dull knives but hasn’t done anything about it yet. We all need a little push sometimes. 🔪